Key takeaways
- Clear and level the ground first; fabric will not kill established perennial weeds underneath.
- Smooth, shiny or printed side up, fuzzy side down; most woven fabric works either way.
- Overlap seams 6–12 in (15–30 cm) and pin every 2–3 ft on edges, 12–18 in on seams.
- Use 6 in (15 cm) staples in firm soil, 8–12 in in loose or sandy soil.
- Finish with 2–3 in of mulch or gravel to protect the fabric from UV.
To lay landscape fabric, clear and level the soil, roll the fabric out with the smooth side up, overlap every seam by 6–12 inches, and pin it with U-shaped landscape staples every 2–3 feet along the edges and every 12–18 inches along the seams. Then cut X-shaped holes for plants and cover the fabric with 2–3 inches of mulch or gravel. Most failures come from skipping the preparation or using too few pins, not from the fabric itself.
Below is the full method, with pin sizes, spacing and the mistakes that cause fabric to tear, shift or grow weeds on top.
What is the purpose of landscape fabric?
The landscape fabric purpose is simple: block the light that weed seeds in the soil need to germinate, while still letting water and air reach plant roots. It also separates mulch or gravel from the soil below, so stone does not sink into mud and mulch lasts longer.
It is not a cure for established perennial weeds. Bindweed, nutsedge and running grasses can push through or around light fabric, so they must be removed or killed before you start. If you are still deciding whether fabric suits your garden at all, read landscape fabric pros and cons first.
Tools and materials
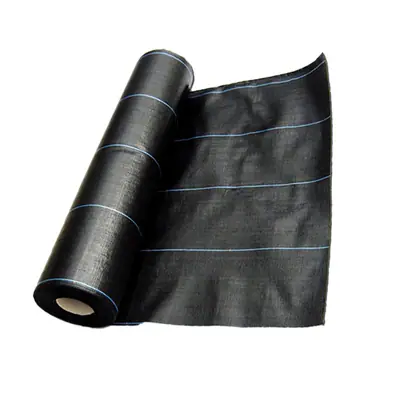
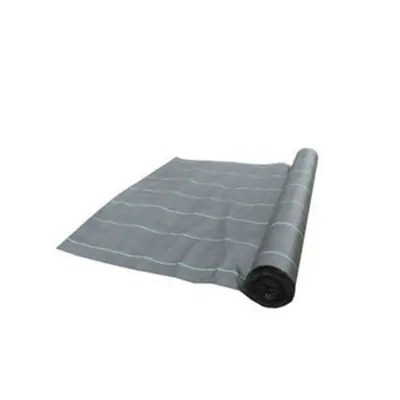
- Landscape fabric (woven polypropylene for gravel, paths and high traffic; see the heavy duty landscape fabric guide for weights)
- Landscape staples, pins or stakes
- Rubber mallet or hammer
- Utility knife or heavy scissors; a hot knife or soldering iron is useful for woven fabric
- Rake, spade and tape measure
- Edging (steel, aluminum or plastic) if the bed borders lawn
- Mulch, bark or gravel to cover
How to install fabric weed barrier step by step
1. Clear the area
Remove all visible weeds, including roots. Dig out perennials rather than just cutting them at ground level. Remove sticks and sharp stones that could puncture the fabric. In a lawn area, strip the sod; laying fabric straight over grass is possible but slower and less reliable.
2. Level and shape the soil
Rake the soil smooth and firm it lightly. If you plan to add compost or amendments, do it now. Once the fabric is down you cannot easily improve the soil. Grade the surface so water drains away from buildings at roughly 2% (about 1/4 in per foot).
3. Install edging and irrigation
Put in bed edging first so the fabric can tuck against it. Lay drip lines now if you want them under the fabric; drip under fabric delivers water efficiently and the fabric slows evaporation.
4. Roll out the fabric
Start at one end and unroll the fabric in the direction of any slope, so the upper sheet overlaps the lower one like roof shingles. Keep it flat but not drum-tight; polypropylene shrinks and expands slightly with temperature.
5. Overlap the seams
| Situation | Minimum overlap |
|---|---|
| Flat beds under mulch | 6 in (15 cm) |
| Gravel paths and patios | 8–12 in (20–30 cm) |
| Slopes and soft soil | 12–18 in (30–45 cm) |
| Areas with vehicle traffic | 18–24 in (45–60 cm) |
Weeds find their way through gaps, so generous overlaps cost little and save a lot of pulling later.
6. Pin the fabric down
This is how to secure landscape fabric so wind, water and foot traffic do not move it. Drive pins through the overlap and along every edge before covering. Details on pin types and spacing are in the next section.
7. Cut planting holes
Mark each plant position, then cut an X (or a cross) about the size of the root ball. Fold the four flaps under, plant, and fold the flaps back around the stem without pressing against the trunk. On woven fabric, a hot knife seals the cut edges so they do not fray. Keep holes as small as practical; every opening is a place for weeds.
8. Cover the fabric
Spread 2–3 in (5–8 cm) of bark, wood chips or gravel. The cover protects the fabric from UV, holds it down and hides it. Do not skip this unless the fabric is a UV-stabilized agricultural grade designed for exposure.
Which side of weed barrier fabric goes up?
For most woven polypropylene fabric, both sides are the same and it does not matter. Where the sides differ:
- Smooth or shiny side up, fuzzy side down. The fuzzy side grips the soil; the smooth side lets mulch slide and sheds debris.
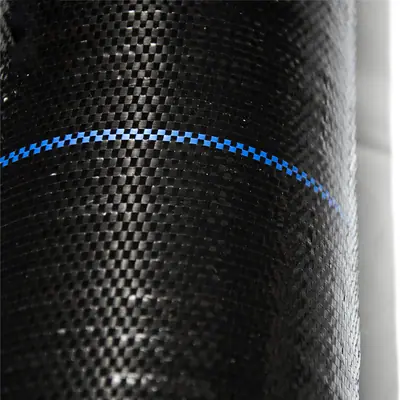
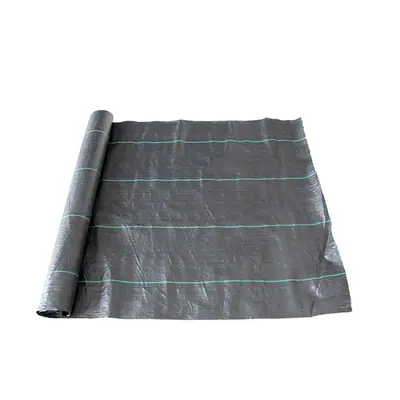
- Printed guide lines face up so you can see them when cutting and spacing plants.
- Coated or laminated fabrics: follow the label. A coated side is usually meant to face up.
If a roll is wound with the face side inward, unrolling it with the outer surface down puts the face side up.
Landscape fabric pins, staples, stakes and nails compared
People search for landscape fabric pins, landscape fabric stakes, weed barrier stakes, garden stakes for weed barrier and landscape fabric nails, but they do the same job. The differences are shape and length.
| Fastener | Typical size | Best for |
|---|---|---|
| U-shaped landscape staples (sod staples) | 11 gauge, 6 in × 1 in (15 × 2.5 cm) | General beds in firm soil |
| Long U staples | 8–12 in (20–30 cm) | Sandy, loose or freshly dug soil; slopes |
| Round-top pins with washer | 6–8 in | Woven fabric, where the head spreads the load |
| Plastic landscape stakes / nails | 6–8 in, barbed | Rocky soil, where wire bends; rust-free |
| Spiral or screw anchors | 8–12 in | Windy sites, erosion blankets |
Spacing guide:
- Edges: every 2–3 ft (60–90 cm)
- Seams and overlaps: every 12–18 in (30–45 cm)
- Field (middle of wide sheets): every 3–5 ft (1–1.5 m), closer on slopes or in wind
- Around corners and curves: extra pins wherever the fabric lifts
Estimating quantity: for a 4 × 50 ft (1.2 × 15 m) bed with pins every 2.5 ft along both long edges and both ends, you need roughly 2 × (50 ÷ 2.5) + 2 × (4 ÷ 2.5) ≈ 44 pins, plus any seams. Buying 20–30% extra is sensible; some will bend.
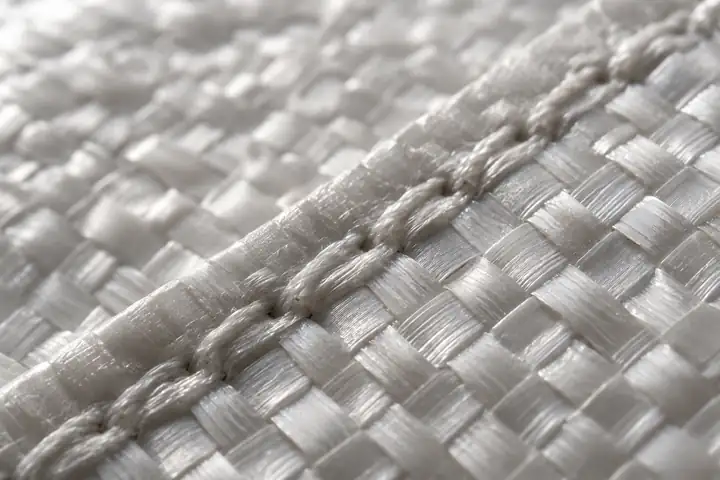
Push pins in at a slight angle away from the fabric's edge, and add a washer or a small square of scrap fabric under the head on woven materials to stop it pulling through. Fabrics with bound edges, such as our Heavy-Duty PP Weed Control Mat with Reinforced Edge, hold pins better at the perimeter.
Do you put soil on top of landscape fabric?
No. Do not put soil on top of landscape fabric. Weed seeds blow into any soil layer, germinate and root straight into the fabric, which defeats its purpose. The fabric goes on top of the soil, and only mulch, bark or gravel goes over it.
The exception is a gravel driveway or path build, where a separation fabric goes below the stone base. That is a geotextile application; see geotextile fabric for driveways, French drains and retaining walls.
How to put weed fabric down on slopes
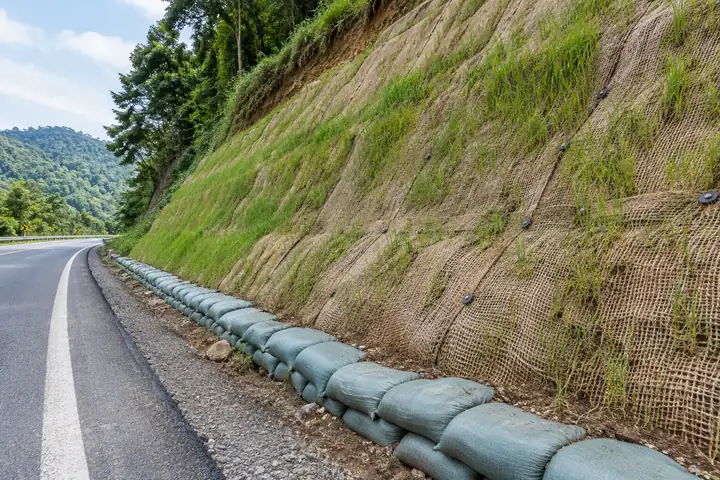
On slopes, start at the bottom and work upward, overlapping each strip shingle-style by at least 12 in. Dig a small anchor trench about 6 in (15 cm) deep at the top, bury the edge, backfill and pin. Use longer staples and closer spacing. Bark tends to wash off steep slopes; use coarse gravel, plants or an erosion control blanket instead. Our erosion control fabric guide covers steeper ground.
Gardening with landscape fabric: maintenance
- Top up the cover every year or two so the fabric never sees direct sun.
- Pull weeds early. Seeds that land in mulch germinate on top of the fabric; remove them while their roots are shallow.
- Do not over-mulch. Very thick organic mulch breaks down into a soil layer that weeds love. Keep it at 2–3 in.
- Check the edges after storms and re-pin anything lifting.
- Expanding beds later: cut new holes rather than lifting large sections.
Common mistakes
- Laying fabric over live perennial weeds.
- Too few pins, especially at seams.
- Overlaps under 6 in.
- Leaving fabric exposed to sun without UV stabilization.
- Pressing fabric tight against tree trunks and stems.
- Using thin spunbond fabric under sharp gravel.
For contractors and distributors
If you install fabric at scale or sell it to landscapers, buying direct from a manufacturer lets you choose weight, width, guide lines and roll labels. EGP weaves polypropylene fabric in Yantai, China, including Heavy Weight PP Weed Control Fabric with Enhanced and Heavy Duty Landscaping Weed Mat Ground Cover Bulk Bags. See the Woven Rolls & Weed Mat range or send us your specification.
Frequently asked questions
How far apart should landscape fabric pins be?
Every 2–3 ft (60–90 cm) along edges, every 12–18 in (30–45 cm) along overlaps, and every 3–5 ft across the middle of wide sheets. Space them closer on slopes, in windy spots and anywhere the fabric lifts.
How long should landscape staples be?
Six-inch (15 cm) staples hold well in firm garden soil. Use 8–12 in (20–30 cm) staples in sandy or loose soil, on slopes, and for erosion blankets.
Should landscape fabric be overlapped?
Yes. Overlap seams by at least 6 in (15 cm) in flat beds and 12 in (30 cm) or more on slopes and under gravel, then pin through both layers.
Can you lay landscape fabric over existing weeds?
Only over low annual weeds that are mowed or cut flat. Established perennial weeds and running grasses should be dug out or killed first, or they will push through or grow around the fabric.
Do you need to cover landscape fabric?
Usually yes. A 2–3 in layer of mulch or gravel protects the fabric from UV light and holds it in place. Exposed use is only practical with UV-stabilized agricultural fabric.
Are landscape pins and landscape fabric spikes the same?
Mostly. Landscape pins are U-shaped wire staples, while landscape fabric spikes are straight plastic or steel pegs, often with a washer head. Both hold fabric flat; use longer spikes in loose or sandy soil.